How to Add Aurora to MetaMask: A Beginner’s Guide
crypto wallets
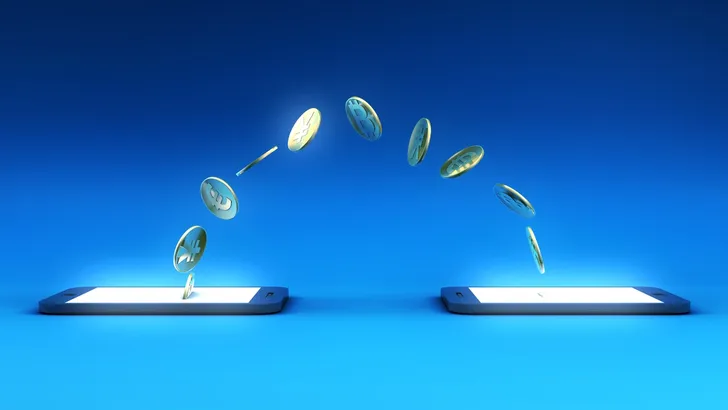
The vast realm of cryptocurrency is home to many different networks. While capable, they often have trouble connecting to each other. That’s where Aurora steps in to bridge the gaps and create an interoperable ecosystem. With all the value and utility that this cryptocurrency brings, it’s no wonder enthusiasts are eager to learn how to add Aurora to MetaMask.
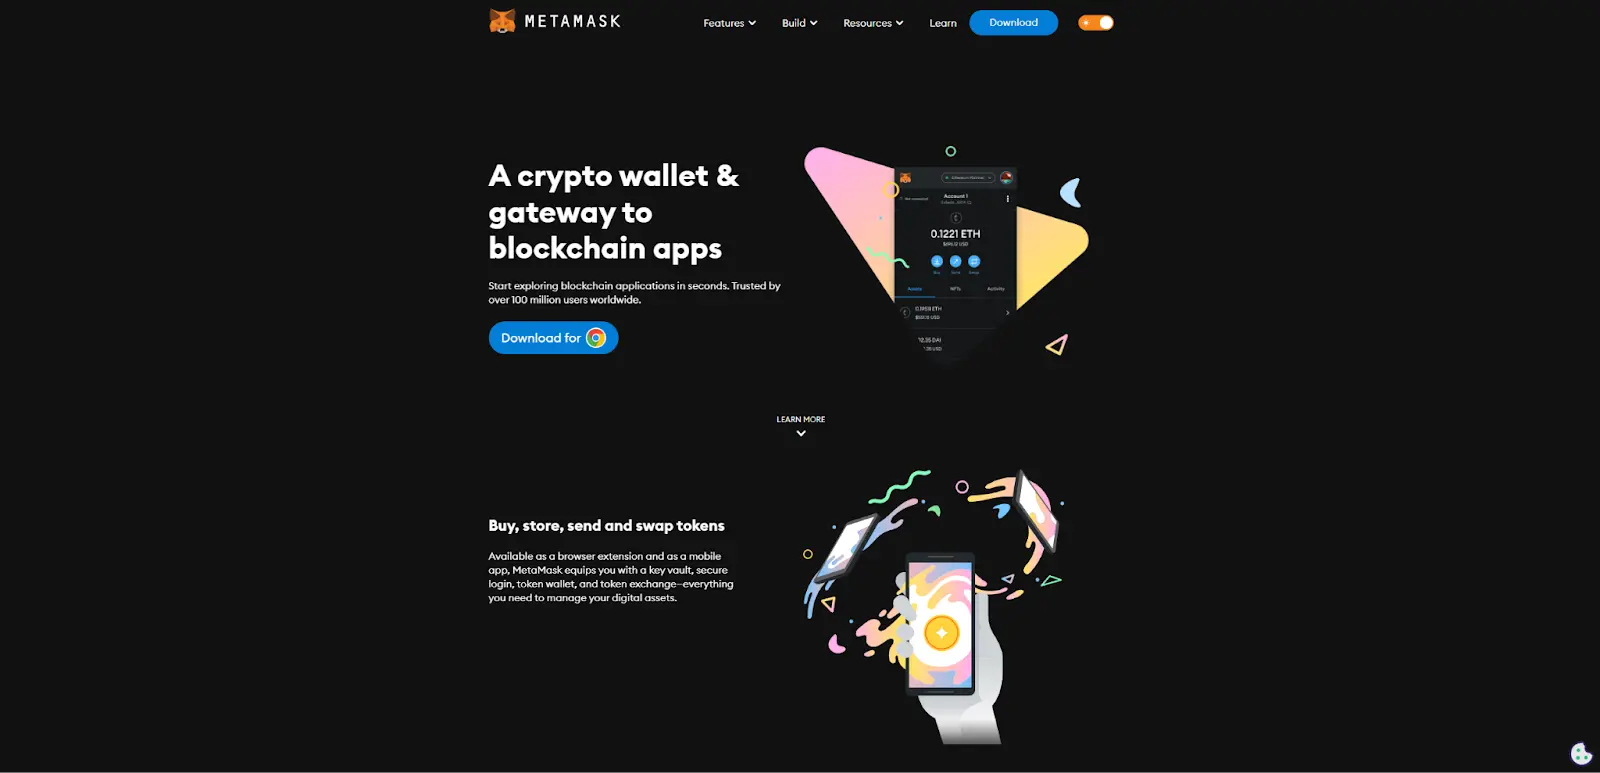
MetaMask is many users’ first choice for storing crypto and accessing dApps. However, doing so can be confusing, especially if you’re an entry-level trader or investor. The wallet doesn’t support every token or network in existence, and even when it does, these often need to be added to the wallet first.
In this article, we’ll learn how to set up a MetaMask wallet and add Aurora to it. Let’s jump in!
What is Aurora?
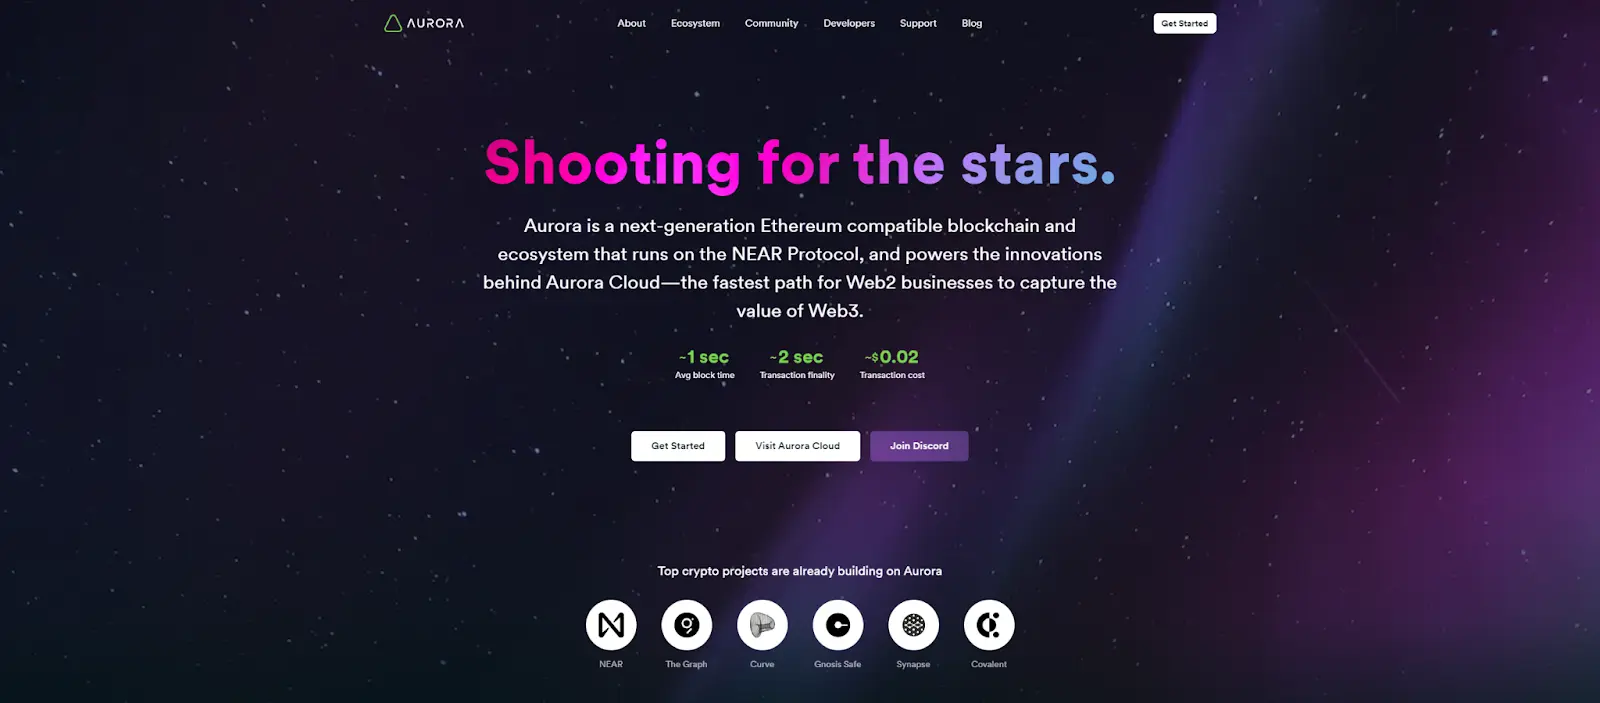
Aurora is an interoperability-focused project built to connect Ethereum and NEAR blockchains.
Ethereum is the second-biggest cryptocurrency after Bitcoin by market cap and the most popular altcoin. It’s considered “digital oil” used to run the world of DeFi. Its programmability makes it perfect for the implementation of a wide range of dApps. It is the foundational blockchain for a decentralized and autonomous web 3.0.
NEAR is a layer-1 protocol, just like Ethereum, built to overcome some of the shortcomings of other networks. It’s posed as another decentralized platform through cloud computing but with increased transaction speeds, throughput, and interoperability.
The Aurora protocol allows developers to write smart contracts in Solidity—a programming language written specifically for the Ethereum network—and use and deploy them on the NEAR network. Moreover, it facilitates the transfer of assets, such as ERC-20 tokens, from one blockchain to another using the Rainbow Bridge.
Its native token, AURORA, is a governance token used by holders to determine the project’s future and development.
Can You Add Aurora to MetaMask?
You can add Aurora to MetaMask as they are both compatible with Ethereum. By doing so, you’ll be able to take advantage of this entire ecosystem of cryptocurrencies, dApps, and protocols using your MetaMask wallet.
How to Set up MetaMask Wallet
Setting up a MetaMask wallet is a meticulous process similar to installing a software program on your PC or an app on your smartphone device. That is because this is a software wallet that comes in two versions: a browser extension and a mobile app.
Here’s how to set up a MetaMask wallet on your computer’s internet browser:
- Visit MetaMask.io.
- Click the “Download” button and then the “Install MetaMask for Chrome” button. Make sure that your browser is on the list of supported ones.
- Click the “Add to [Browser Name]” button in the Chrome Web Store.
- Confirm that you want to install the wallet by clicking on “Add extension.”
- Carefully follow the steps provided by the wallet to set up your password and secret recovery phrase properly.
- (Optional) During the setup process, hit the “Advanced configuration” button to customize options such as phishing detection and batch account requests.
Setting up a wallet on your smartphone and tablet is even faster and goes like this:
- Download and install the official app through the MetaMask website, iOS App Store, or Android’s Google Play Store.
- Run the app once the installation process has finished.
- Carefully follow the steps, just like with the browser extension version.
How to Add Aurora to MetaMask
There are several ways to add the Aurora network to MetaMask. Let’s explore all of them.
#1. Use the Official Website
The simplest way to add the Aurora Mainnet to your MetaMask wallet is with the built-in feature on its website. Here are the steps:
- Head to https://aurora.dev/start using a device that has your MetaMask wallet.
- Navigate to the Aurora Network section and click on the “Add network” button.
This will automatically integrate the network with your wallet so that you can start using it. You can use the same web page to add the network’s native AURORA token. Simply click on the “Add token” button, and you’ll find it in your wallet.
#2. Use the Rainbow Bridge
To use the Rainbow Bridge to move assets from one blockchain to another, you need to have your Ethereum-compatible wallet connected. If you don’t, the dApp will ask you to do so automatically before bridging assets. Here’s how that works:
- Go to https://rainbowbridge.app/transfer.
- Click on the “Connect” button.
- Scan the QR code with your smartphone or click on the MetaMask icon if you’re using your desktop.
If you don’t have a MetaMask wallet downloaded yet, the bridge will prompt you to download and set it up before connecting.
#3. Add the Aurora Network Manually
You can add the Aurora network manually to your MetaMask wallet without visiting other websites or apps. Here is the step-by-step process:
- Go to the MetaMask network tab. You’ll find it at the top of the main page of your wallet in both browser extension and mobile versions.
- Click on the “Add Networks” button.
- Head to the “Custom Networks” tab.
- Input the following details in the presented fields:
- Network Name: Aurora
- RPC URL: https://mainnet.aurora.dev
- Chain ID: 1313161554
- Currency Symbol (optional): ETH
- Block Explorer URL (optional): https://aurorascan.dev/
- Click on “Add.”
You will now find Aurora among all the other networks added to your MetaMask wallet in the network tab.
Is Holding AURORA on MetaMask Safe?
Holding AURORA on MetaMask is safe if you practice good cyber hygiene and don’t keep your assets on it for too long. That is because MetaMask is a hot wallet, and it exists on a device that is often, if not always, connected to the internet.
Hot wallets are susceptible to various malicious attacks and hacks aimed at stealing your private keys and cryptocurrency. As long as you’re online, someone can forcefully, and often without your knowledge, access your device and obtain your private information.
You can lower the chances of that happening by being careful about the WiFi networks you connect to, visiting trusted websites, being aware of all the different scams and hacks that exist out there, and more.
Moreover, whenever you add a custom token or network to your MetaMask network, you run the risk of it being created by malevolent developers who want to steal your crypto. That’s why it’s crucial only to add verified networks, integrate with trusted dApps, and use proven tokens with your software wallet.
Ultimately, the best long-term storage solution for your cryptocurrency holdings is a hardware wallet. Wallets by companies like Trezor and Ledger offer easy integration with MetaMask while being cold wallets.
Cold wallets are physical devices, akin to USB drives or credit cards, that store your assets offline, making it impossible for online attackers to access them. Even when you do go online, you’ll need to press a button physically to authorize transactions. That adds another layer of security.
Key Takeaways
The Aurora network represents a step toward interoperability in DeFi. It aims to be a bridge that connects multiple blockchains, creating a cohesive ecosystem where each network utilizes its strengths.
Learning how to add Aurora to MetaMask helps users take full advantage of this protocol to transfer assets and information between NEAR and Ethereum blockchains. It’s valuable knowledge for everyone, from entry-level investors and enthusiast traders to project participants who want to use the AURORA token to participate in governance.
Remember to practice safety when using MetaMask and accessing DeFi. Once your crypto portfolio reaches a certain point, consider obtaining a hardware wallet to combine with MetaMask for maximum security.