How to Add Arbitrum to MetaMask Wallet: Complete Guide

metaverse
Ever since the Ethereum network established itself as the most capable of supporting smart contracts, developers have been working on Layer 2 scaling solutions to enhance it further. One such Layer 2 network is Arbitrum, and one of the best ways to access it is to learn how to add Arbitrum to MetaMask.
A thriving world of decentralized finance is all about interaction between different blockchains. Since MetaMask supports several different networks and upwards of 500,000 cryptocurrencies, it’s a natural choice for many users looking to explore Arbitrum.
This article will not only teach you how to add Arbitrum to MetaMask, but it will also show you the benefits of the network, the versatility of Arbitrum Bridge, and much more. Without further ado, let’s jump right in!
Can I Add Arbitrum to MetaMask?
You can add Arbitrum to MetaMask since it’s a Layer 2 scaling solution designed specifically to support Ethereum network operations. MetaMask represents a decentralized Ethereum wallet created to support ERC-20 tokens and various DeFi dApps. Some of the biggest perks of adding Arbitrum to MetaMask are faster and more cost-effective transactions.
As a result, using MetaMask to access the Arbitrum network is not only possible but highly recommended. The extensive set of features that the MetaMask wallet offers allows you to effectively navigate this thriving ecosystem. You can use the wallet to store, manage, and trade tokens, access dApps, participate in the Arbitrum network governance, and more.
Keep reading to find out exactly how you can benefit from using Arbitrum and how to quickly set up your MetaMask wallet to access the network.
Why Should You Use Arbitrum?
You should use Arbitrum to take advantage of its faster transactions and lower fees compared to the Ethereum network. As powerful and capable as it is, the Ethereum network can run into periods of extreme congestion when gas fees can end up being thousands of dollars.
Extreme fees can price out many participants, which is what networks like Arbitrum were created to solve. As a Layer 2 network, Arbitrum One (which is the official name of the mainnet, later upgraded to Arbitrum Nitro) aims to resolve Ethereum’s “blockchain trilemma,” where a blockchain can’t have all three of the following aspects:
- Decentralization
- Security
- Scalability
The purpose of Arbitrum is to enhance the network’s scalability by removing its need to process all transactions and smart contracts. Instead, all processing is done on Layer 2 (off-chain), while Layer 1 (on-chain) is used simply for storing data.
Arbitrum achieves that using the “optimistic rollup” system, where the system optimisticallyassumes all processes are legitimate and there are no malicious activities. That allows the network to quickly and efficiently validate transactions.
In cases of suspicious activity, network participants can file disputes within a week. If proven true, the validators lose their collateral. One of the few drawbacks of this system is that users need to wait a week to process their withdrawals.
How to Set Up MetaMask Wallet
You can install MetaMask on your smartphone or PC in a couple of simple steps. The wallet comes as an iOS and Android app as well as a Chrome browser extension, which makes it highly versatile from the get-go. Here’s a straightforward four-step process for setting up the MetaMask crypto wallet on your device:
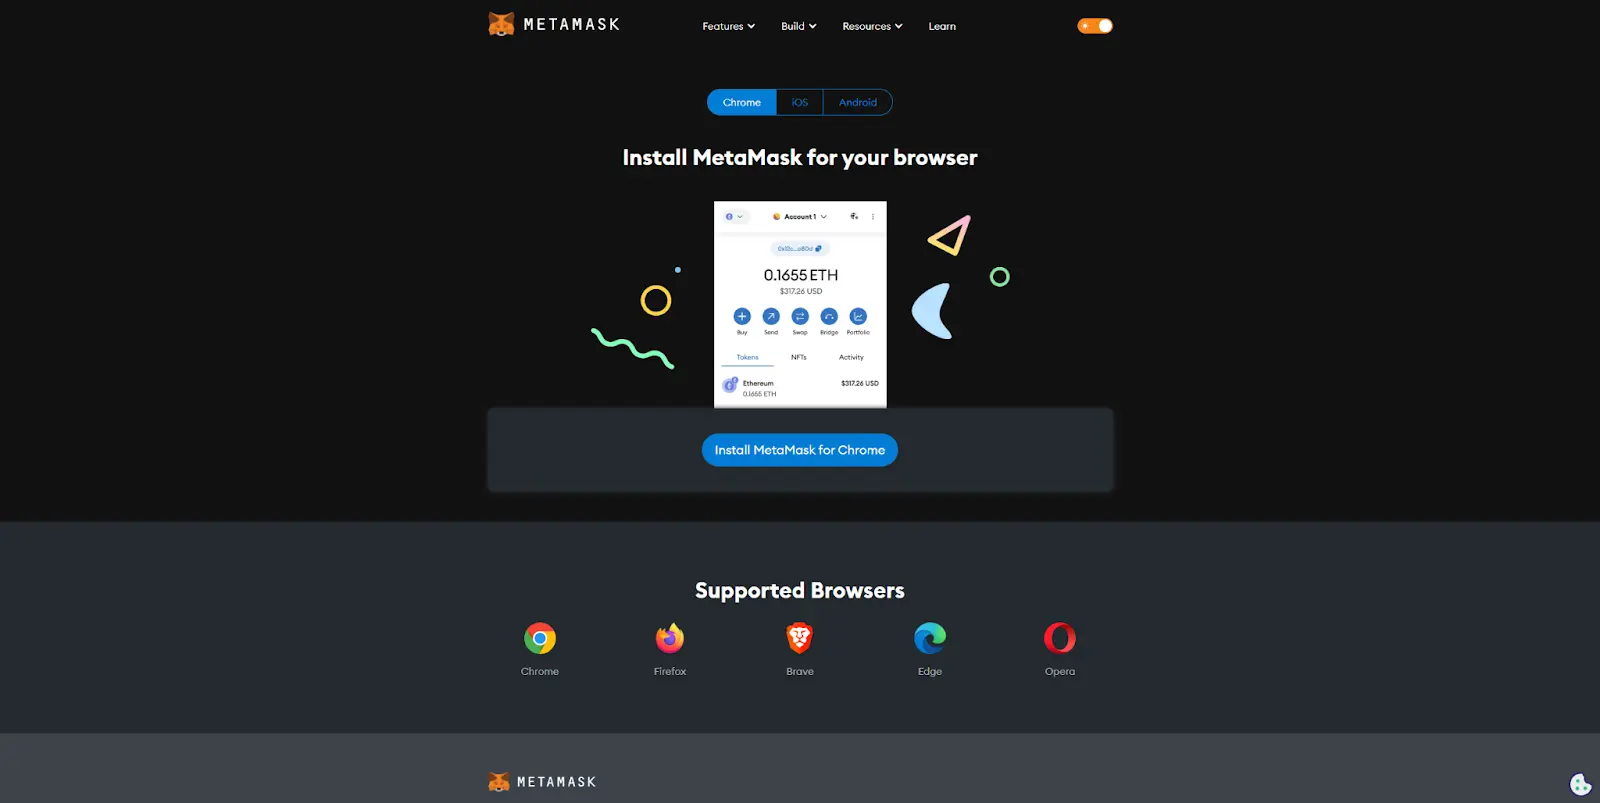
1. Install the MetaMask wallet. You can find the MetaMask browser extension and apps on the official website—MetaMask.io—in the Google Play Store and in the iOS App Store. If you’re looking for the extension, keep in mind that supported browsers are Chrome, Firefox, Brave, Edge, and Opera.
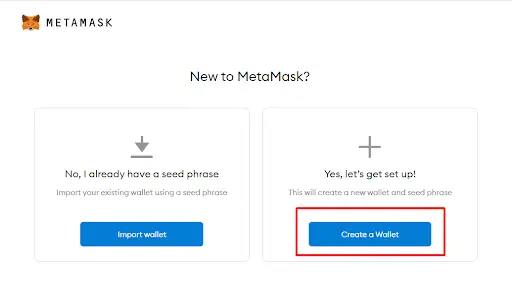
2. Set up an account. After installing the wallet and tapping on the “Get Started” button, you’ll be prompted to choose to import an existing wallet or create a new one. You’ll get to create a password, which you’ll use every time you want to access the wallet.
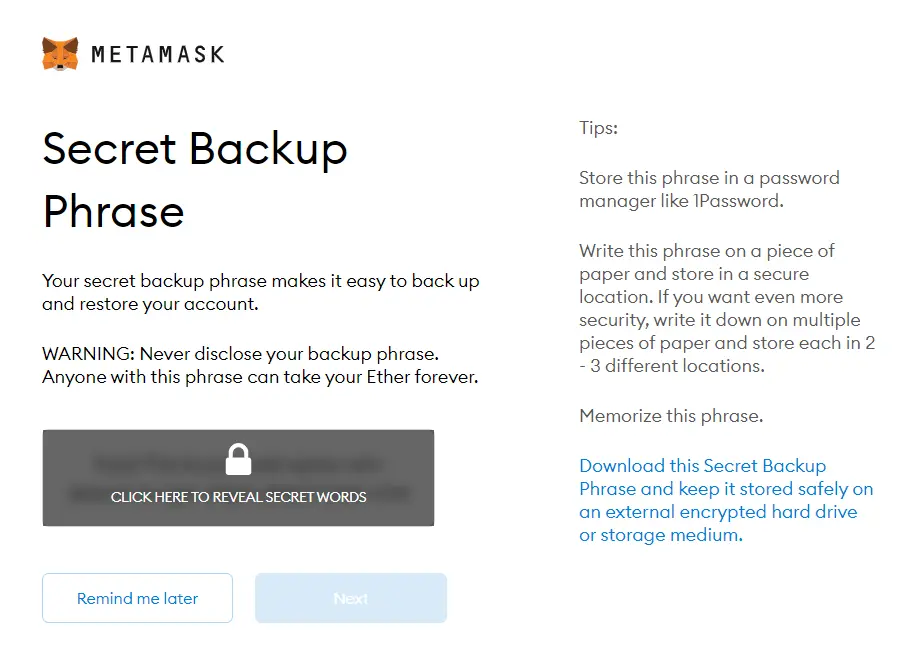
3.Back up your secret phrase. This step is essential, as a seed phrase is the only way to recover your wallet in case you forget your password or change devices. You should write your secret phrase down and keep it offline in a secure location. If someone sees it, they can gain access to all the funds in your wallet.
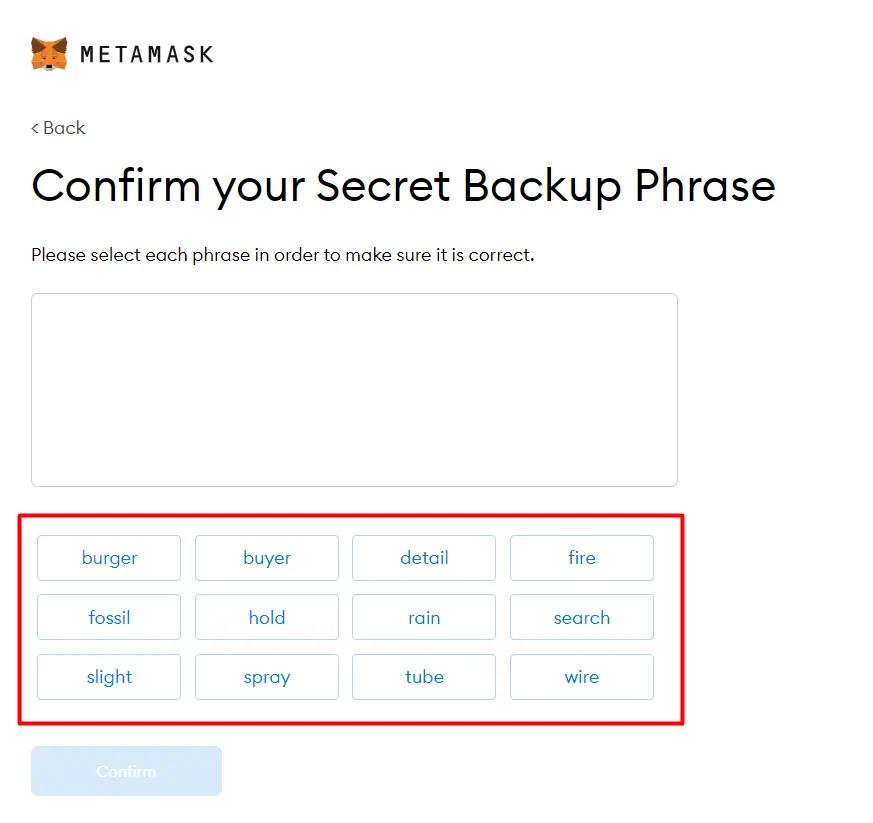
4. Confirm your seed phrase. After you’ve written the phrase down, the wallet will ask you to type it back one final time as confirmation. After that, you’ll be able to access MetaMask using your browser or smartphone.
How to Add Arbitrum to MetaMask
You need to manually add Arbitrum to MetaMask since the wallet is set to the Ethereum network by default. To do that, you’ll need details such as the network name, a custom RPC for Arbitrum in MetaMask, chain ID, and so on. Here's a step-by-step guide with all the necessary information:
- Access the “Networks” drop-down menu by tapping on the “Ethereum Mainnet” tab at the top of your wallet.
- Tap on the “Add network” button to open a list of popular networks.
- Select the “Add a network manually” option at the bottom of the screen.
- Input the following details in each of the sections:
- Network name: Arbitrum One
- New RPC URL: https://arb1.arbitrum.io/rpc
- Chain ID: 42161
- Currency Symbol: ETH
- Block Explorer URL (Optional): https://arbiscan.io/
- Click “Save.”
You will now be able to access the Arbitrum network by going back to the “Networks” drop-down menu. You’ll see “Arbitrum One” right beneath the Ethereum Mainnet, which you’ll be able to switch to whenever you want. In there, you’ll find supported currencies, Arbitrum token addresses, and so on.
With the Arbitrum mainnet in your MetaMask wallet, you can now take advantage of the network’s full potential. You’ll be able to collect NFTs, participate in DeFi via dApps, receive and send cryptocurrencies like Arbitrum (ARB), Wrapped BTC (WBTC), Chainlink (LINK), etc.
What is Arbitrum Bridge & How to Use It
Arbitrum Bridge is a blockchain solution for transferring assets between the Ethereum and Arbitrum networks. The bridge uses smart contracts to create synthetic assets on the Arbitrum network. In essence, you are locking up your original tokens for Layer 2 versions of them.
You can then use optimistic rollups to move their assets from one address to another much cheaper and faster than on the Ethereum network. On top of that, you can interact with the same dApps as if you were using the Ethereum mainnet.
At any point, a network participant can request a withdrawal and use the Arbitrum Bridge to bring their funds back to the Ethereum mainnet. Keep in mind that there’s a seven-day dispute period to wait out.
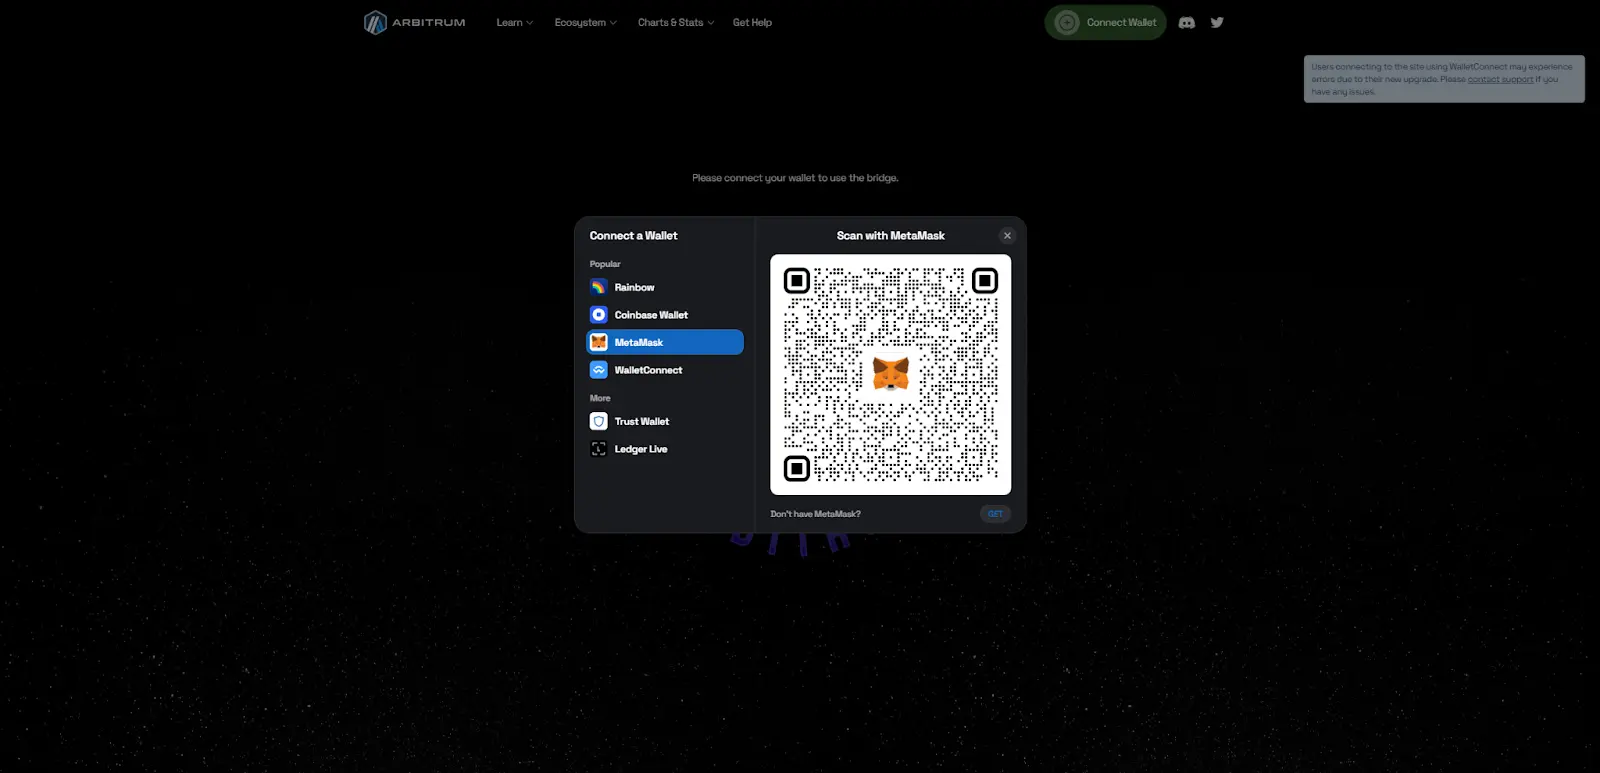
Here’s how to start using Arbitrum Bridge in less than a minute:
- Go to the official Arbitrum Bridge website.
- Click on “Connect Wallet.”
- Select MetaMask and input your password.
- Click “Connect.”
You can now use your MetaMask wallet to bridge cryptocurrencies from Ethereum to Arbitrum and vice versa.
Key Takeaways
As you can see, there are plenty of reasons to learn how to add Arbitrum to MetaMask. The Layer 2 scaling solution solves some of the Ethereum network’s most pressing problems, creating a promising future for Arbitrum.
Moreover, the versatility of MetaMask complements this network perfectly. By combining the two, you get faster and more efficient transactions with ERC-20 tokens as well as access to handy dApps.
Lastly, remember to stay safe and keep doing research when venturing into new territories. Here’s to a decentralized future and financial inclusion!